The Jar Test Is a Clue, Not a Soil Verdict
A soil jar test gives a rough visual comparison of sand, silt, and clay layers, helping you ask better questions before changing a garden bed.
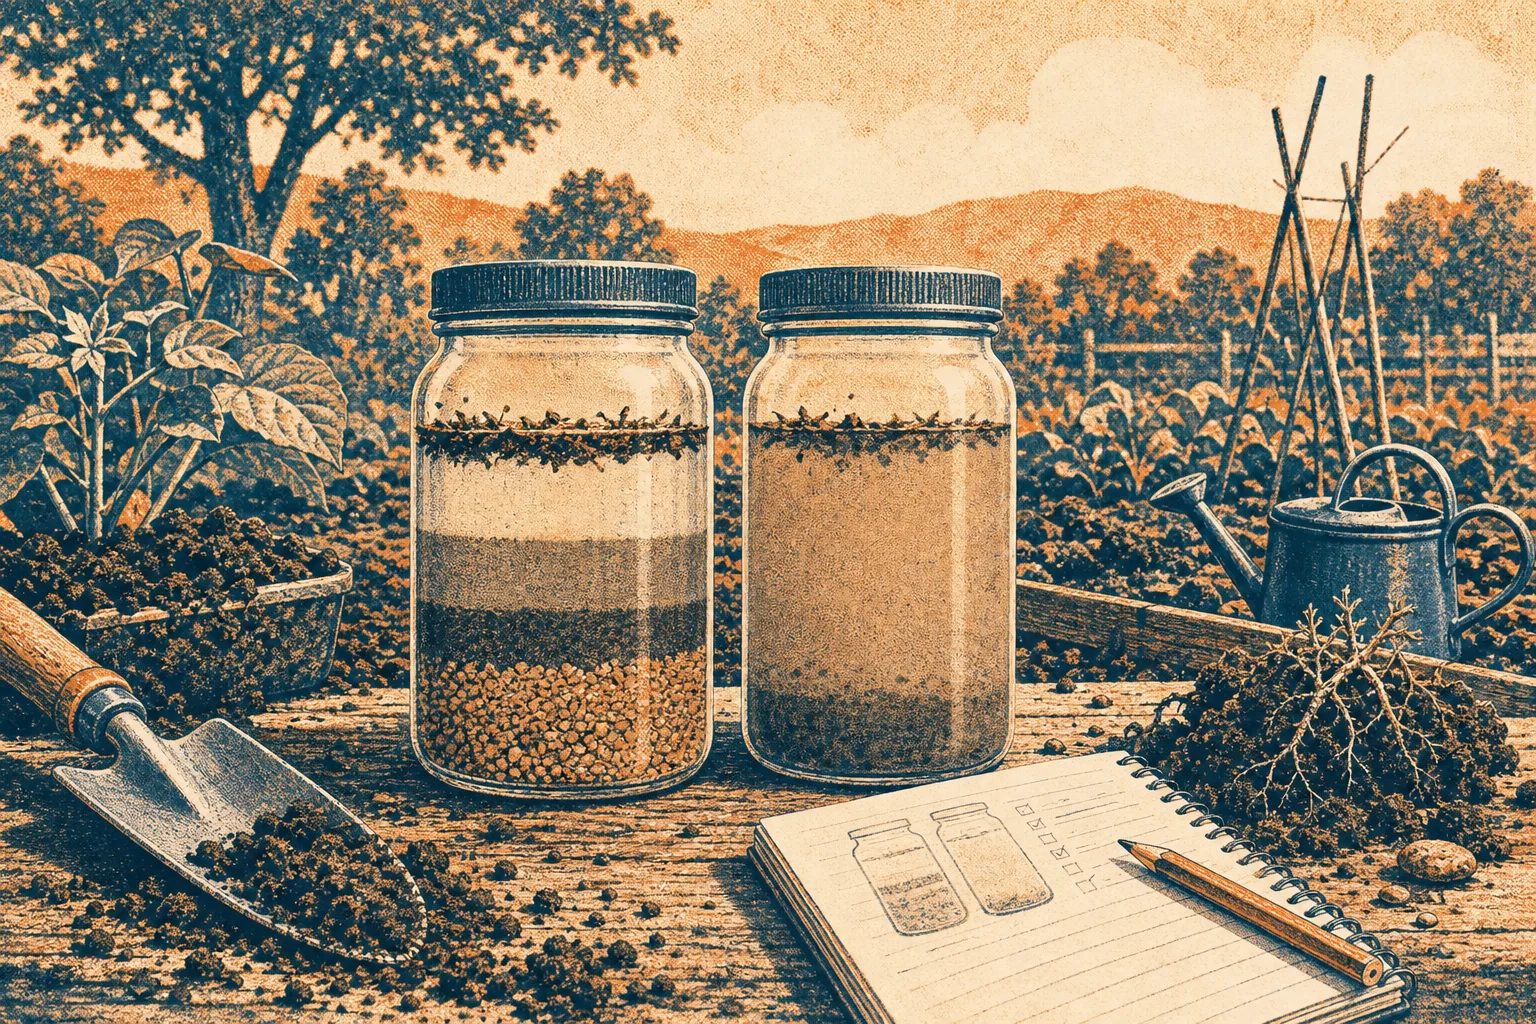
A soil jar test can show whether a garden sample appears to contain more coarse or fine particles, but it cannot diagnose the whole soil. In a clear jar, soil and water settle into visible layers that offer a rough comparison of sand, silt, and clay. The result is a useful prompt for observation—not a final label or a prescription for what to add.
What does a soil jar test show?
A soil jar test shows how particles in a prepared sample settle in water. Coarser sand tends to settle quickly, while finer particles remain suspended longer. The finest clay can take much longer to settle and may leave the water cloudy.
After settling, the sample may show a coarse lower layer, finer material above it, and sometimes a thin layer of organic debris floating at the surface. These bands are clues about particle sizes. They do not necessarily form crisp, separate stripes, and some samples remain cloudy or mixed.
Soil texture refers to the relative amounts of sand, silt, and clay. Sand feels gritty, silt tends to feel smooth or floury, and clay can feel sticky when wet and form a ribbon when pressed. A jar gives a visual hint about texture; it does not directly measure the way soil behaves around roots.
How do you make a useful soil jar test?
Choose a representative sample rather than scooping from one unusual spot. In a garden bed, gather small amounts from several locations at a similar depth, avoid surface mulch, and combine them in a clean container. If you want to compare two areas, keep their samples separate and use the same method for both.
- Remove stones, roots, and visible plant litter from the mixed sample.
- Break apart clods gently by hand. Do not grind the soil into powder, since crushing can change the particles you are trying to observe.
- Put soil in a clear, straight-sided jar and add water, leaving room to shake the contents.
- Close the lid securely, shake until the sample is thoroughly mixed, then set the jar somewhere it will not be disturbed.
- Watch how the material settles over time. Note whether the water clears, whether layers appear, and whether the bands are distinct or diffuse.
There is no need to treat a particular settling time as a universal deadline. Soil aggregates, organic matter, mineral composition, water chemistry, and the amount of mixing can all affect what you see. Record the location and date if you plan to compare samples later; those notes help explain differences without turning a rough observation into false precision.
Can the jar test tell you your soil texture?
It can suggest a broad texture pattern, but it cannot reliably assign a precise soil-texture class on its own. A settled layer’s apparent thickness is not a dependable measurement unless the sample and procedure are carefully standardized and interpreted. Even then, the jar does not tell you everything that matters for gardening.
For a simple cross-check, moisten a small pinch of soil and rub it between your fingers. A gritty feel suggests substantial sand; a smooth, floury feel suggests silt; a sticky feel or a ribbon pressed between thumb and forefinger suggests clay. This hand-feel method also takes practice, so treat it as another clue rather than a replacement for professional analysis.
Say you collect soil from two parts of a vegetable bed. The jar from the sunny edge develops a more obvious coarse layer, while the one from a shaded corner stays cloudy longer. That contrast can prompt you to compare drainage, surface cover, and how each area feels when damp. It does not establish that either spot needs sand, compost, or another amendment.
Why can two jars give misleading results?
A garden sample is not a uniform pile of separate grains. Clay and silt may cling to one another in aggregates, while organic matter can float or remain mixed through the water. A clod that was not broken apart may settle as a lump, and a sample taken from one small patch may not represent the wider bed.
Other conditions can affect the appearance:
- Organic matter: Light material may float, darken the water, or remain among mineral particles.
- Compaction: A compressed sample may contain clods that resist mixing and settle unevenly.
- Water and mixing: Different water sources, shaking habits, and jar shapes can make comparisons less fair.
- Gravel and roots: Larger fragments are not sand, silt, or clay, even if they occupy space in the jar.
- Disturbance: Moving the jar before settling is complete can blur the layers or start them settling again.
For comparisons, use the same jar, similar amounts of soil and water, consistent preparation, and samples taken in the same way. That improves the fairness of the visual comparison, but it does not turn the procedure into a complete laboratory test.
What does the jar test leave out?
The jar test does not reveal soil pH, nutrient availability, salinity, contamination, or the amount and condition of organic matter. It also cannot show how well the soil drains in place, how much air reaches roots, or whether the bed is compacted below the sampled surface.
Structure is one important missing piece. Soil structure describes how particles bind into aggregates and the spaces between those aggregates. A soil with a high clay content can still have a workable structure, while a soil with a different texture may form a dense crust or resist root growth. The jar separates particles; it does not preserve or evaluate their arrangement in the garden.
That is why a cloudy jar should not trigger an automatic amendment. Adding sand to a clay-heavy bed, for example, is not a simple shortcut to better drainage; the result depends on the soil and the amount and kind of material involved. Do not add materials on the basis of a jar’s appearance alone.
What should you do after seeing the layers?
Use the result to choose a sensible next observation. Check how the bed behaves after ordinary rain or watering: does water soak in, linger at the surface, or run off? When the soil is moist rather than saturated, see whether it crumbles, sticks to tools, or forms a hard mass. Look for roots and earthworm channels in a small, carefully opened area.
If plants struggle across the bed, or you need decisions about pH, nutrients, or a suspected soil hazard, consult a qualified local soil-testing service or extension office. A lab can analyze specific properties that a jar cannot. Ask what the test covers and explain what you intend to grow so the results answer a useful question.
For routine gardening, the jar can still help you notice contrasts between beds or parts of a yard. Pair it with observations of drainage, soil structure, and plant growth, and avoid changing several things at once. It is not worth pursuing perfectly sharp bands or trying to calculate a precise texture from a casual household setup.
What questions do gardeners ask about the soil jar test?
How long should a soil jar sit?
Let it sit undisturbed long enough for the visible layers to develop, and note that fine clay may remain suspended after coarser particles have settled. There is no single waiting period that makes every soil sample comparable or complete.
Why is the water in my jar still cloudy?
Very fine clay, suspended organic matter, or incomplete settling can keep the water cloudy. The cloudiness is a sign to interpret cautiously, not proof of a particular soil problem.
Can a soil jar test tell me what to add?
No. It offers a rough visual comparison of particle layers, but does not identify the cause of poor growth or establish an appropriate amendment. Check the soil’s behavior and get a relevant soil test before making changes that depend on pH, nutrients, or other properties.
Is a soil jar test the same as a laboratory texture test?
No. A household jar test is an informal visual aid, while a laboratory uses controlled procedures to analyze a sample. If a dependable classification matters for a planting or soil-management decision, ask a qualified testing service which analysis is appropriate.
A soil jar test is most useful when it sharpens a question: why does one part of the bed behave differently from another, or what should you observe next? Keep the layers in perspective, and let the garden’s drainage, structure, and plant response guide the next decision.
Nearby ground
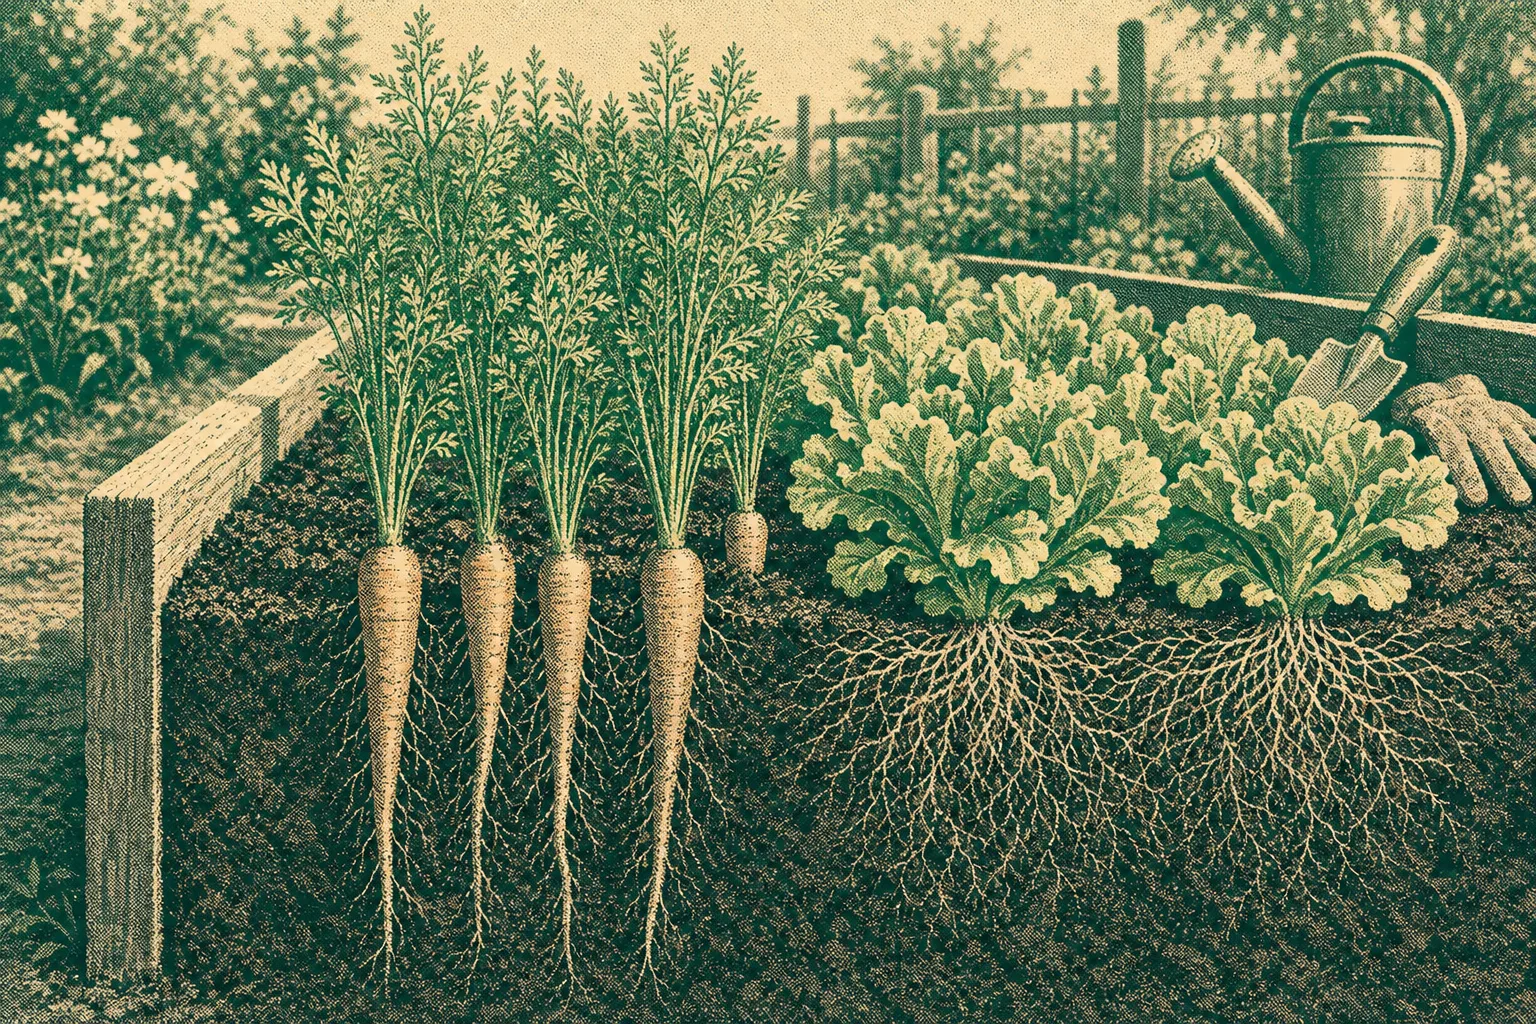
How to Match Root Depth and Spread to Garden Space
Match root depth and spread to beds, containers, and neighboring crops to choose a planting place…
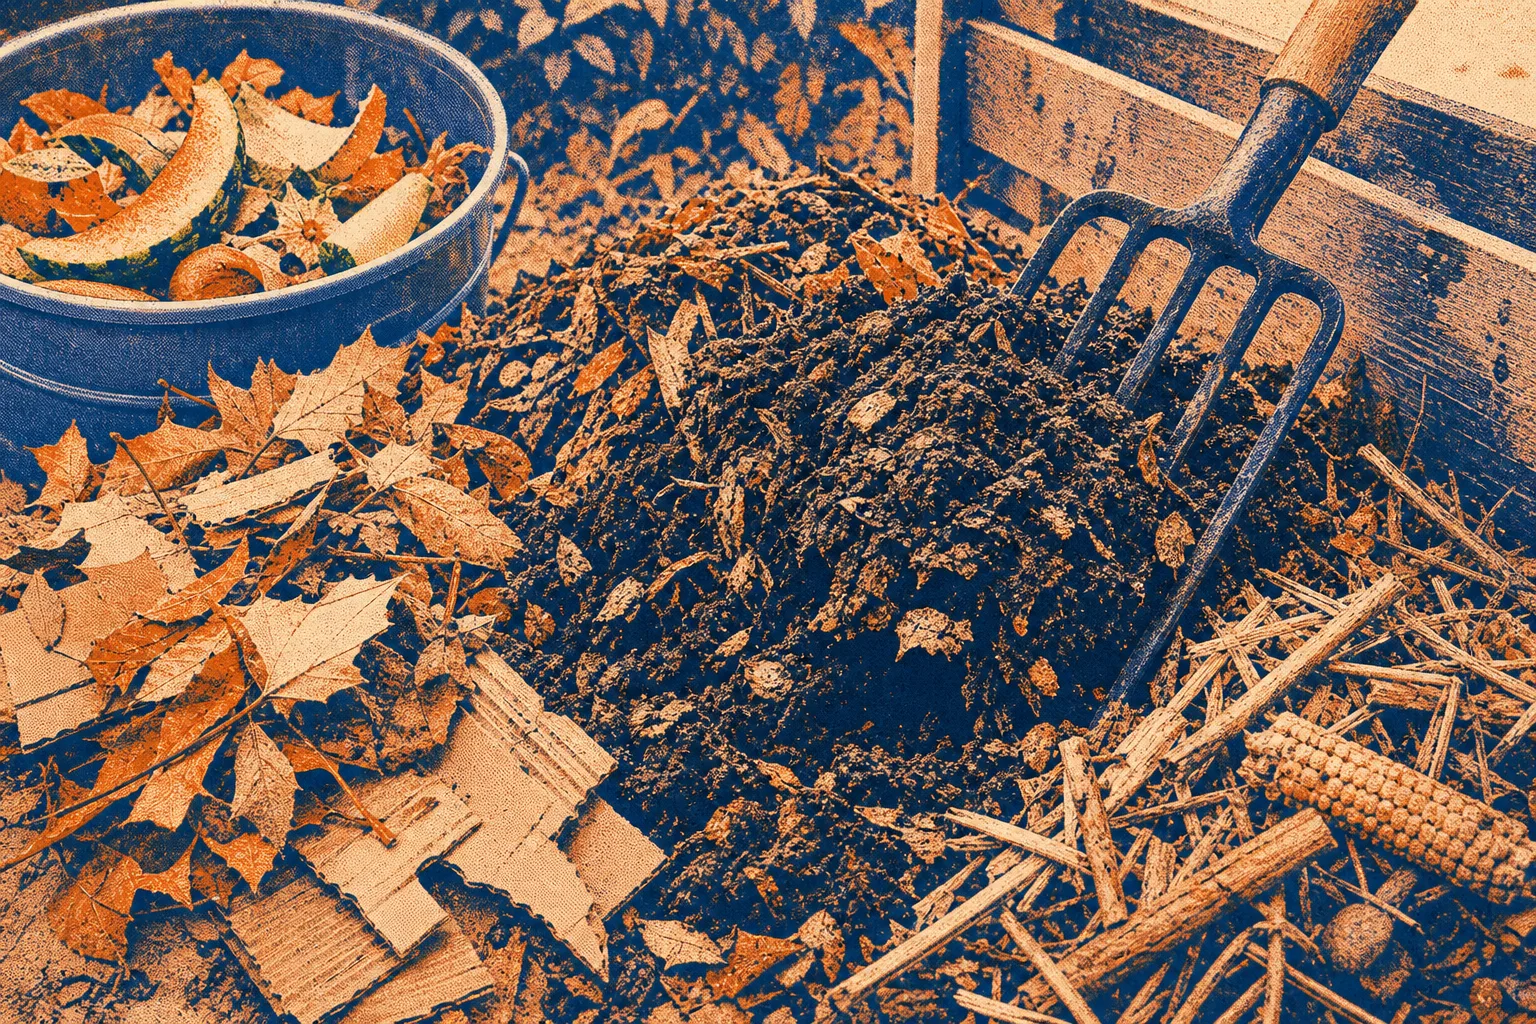
A Compost Pile Changes as Its Ingredients Break Down
Learn to read compost pile changes, adjust moisture and airflow, and choose a suitable use without…